
I've learned a lot in the last year about photo composition, lighting and editing, and Instagram's definitely helped to speed up the learning process. Now, I'm not saying that i'm an Instagram super-expert, but I do know a thing or two when it comes to Instagramming a decent photo.
A few of you guys have asked me for advice on this recently, so I figured i'd create a post to answer the big old question - how do you take better Instagram photos? If you're looking to step up your game, read on for my two cents on what it takes to create a good Instagram pic!
Opt For Quality
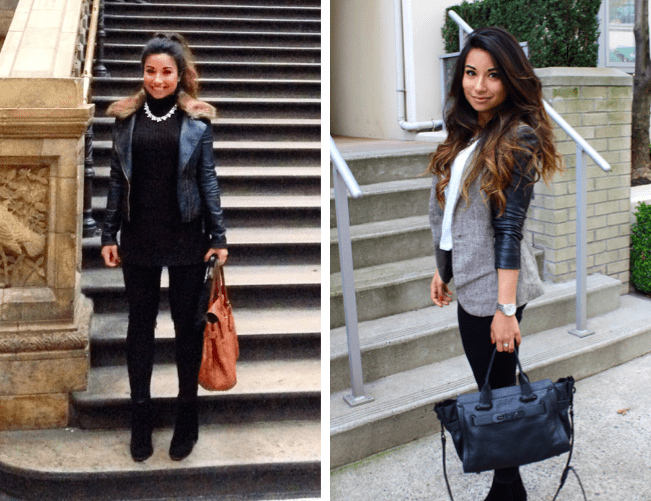
I've seen a huge difference in both my Instagram following and engagement since improving my photo quality. Now, around 80% of my photos are taken with my digital camera (I have an Olympus PEN E-PL5) and they look so much better. I'll take the odd photo on my iPhone if I want to upload something there and then, but I generally stick to my camera. This ensures that the quality is top notch, plus I can use the photos for blog posts if I want to.
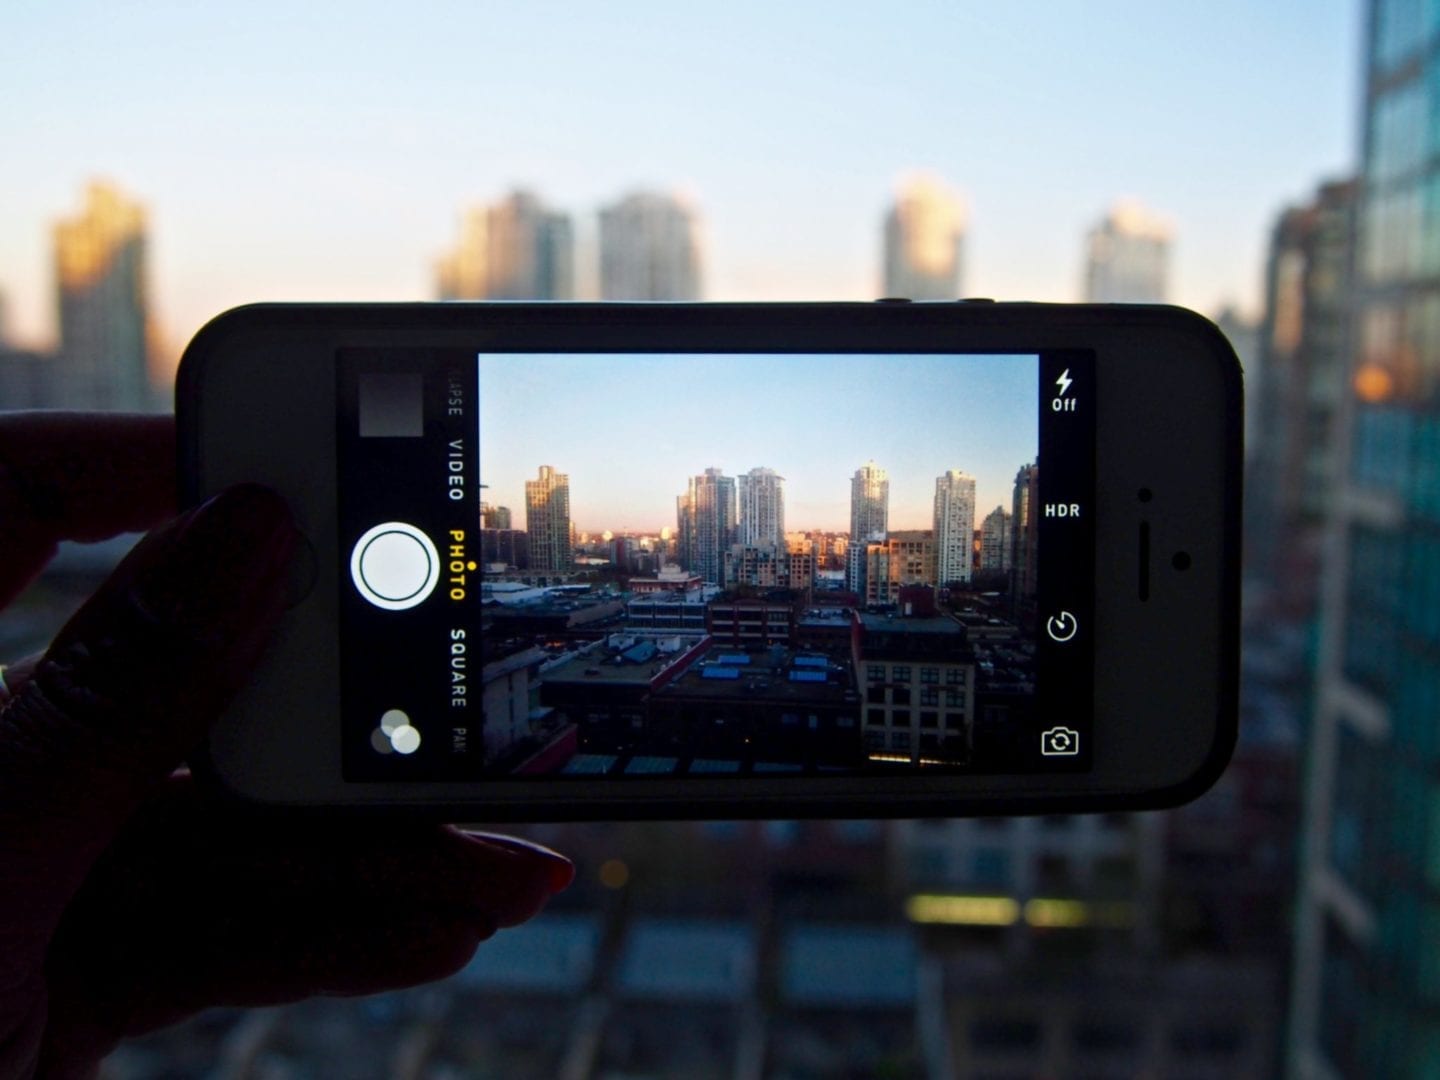
If you're using your phone, don't take the photo in Instagram's app - use your phone's camera app instead then import the photo after. This allows you to edit the photo outside of Instagram and the quality is much better (more on editing later). When taking a photo with your phone, keep a steady hand and tap the screen to readjust the focus and exposure. If the photo is too overexposed (i.e. too bright), tap different areas of the screen to correct it.
Here's the difference a camera can make. Better, huh?
Look For Good Lighting
Lighting is key when it comes to taking good photos.
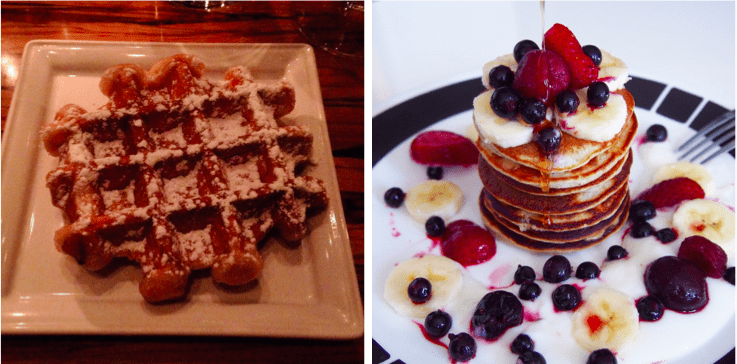
If ever i'm taking a photo of food (that I want to post on Instagram or blog), I look for the best lighting which is usually by the window where there's tons of natural light.
Generally, natural lighting that's away from direct sunshine is key to taking a clean photo. Too much sunshine can be too harsh, especially when on your face as it creates unflattering shadows that hide any details. When you take photos of food in artificial lighting or at night, unless you have super techy lighting (or get creative using your smartphone torch), the colours usually merge into one and your delicious waffles end up looking far from appealing.
Below you'll see the difference that lighting can make - these waffles were TO DIE but you'd never know (as were the pancakes!)
Use Editing Tools
There's nothing wrong with a bit of editing here or there. Besides, it can transform your image from a good photo to a great photo. Editing allows you to enhance the colours, tones, and structures so your image looks more striking and you get the visual impact you're looking for.
With a little editing (using Instagram's tools), i've managed to bring out the tones, enhance the blue sky and create a greater contrast of colours. The second photo isn't extremely different, but personally, I think it looks much more appealing to the eye after a little editing. Don't make the mistake of using Instagram's ready-made filters - they make your image look too edited and really diminish the quality of the photo. Instead, use Instagram's tools and edit the image bit by bit. Play around with the brightness, contrast, saturation, temperature, etc, to tweak the parts that need tweaking. Try editing outside of Instagram using apps like Snapseed and VSCO if you really want to play around with the image to get the effect you want.

Focus on Alignment
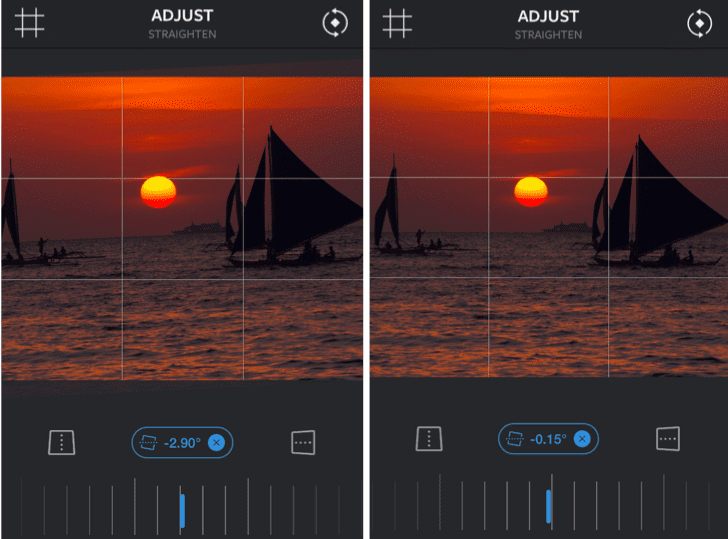
Take a look at the photo below. Which looks better?
If you look closely, you'll see that the photo on the right is much more balanced (if you don't see it, look at the horizon then compare it to the grid lines. The horizon isn't straight). It's only marginal, but I think straightening out the horizon makes a huge difference. Horizons and lines are so important in photographs, as naturally we prefer straight lines rather than odd angles.
When you upload a pic to Instagram, have you ever noticed the "Adjust" button on the toolbar? This allows you to zoom, straighten and adjust the image. If you tap on the grid button on the top left-hand corner, you can use the grids to guide you to creating straight and aligned photos. Use the bar at the bottom to straighten out or tilt the image. Think of it like a canvas on your living room wall - you wouldn't want your canvas to be crooked and badly aligned, and the same applies to your Instagram photos!
Hopefully, you've found these tips useful if you're looking to take better Instagram photos. If you've got anything to add, let me know in the comment box below!
7 Comments
Great post! I’ve never used the align feature before, but I think I will now! I just wish my digital camera had a wifi feature on for me to utilise more, maybe it’s time for an investment!
I didn’t realize how big alignment was until I realized how much of a difference it made! LOL I hope the sun comes out so I can take some natural light photos this weekend. Thanks for sharing these amazing tips. I’ll be tweeting these tips.
These pointers are so helpful. I’m guilty of using my phone to take most of my photos. I really need to pull my regular camera out more often.
Great tips! I love the align tool in Instagrams editing… I didn’t even realize how off some of photos were until I started using it! I also agree about taking photos on something other than your phone… it’s crazy the difference a camera makes!
very informative read, must say! I try using editing tools but your post will help me to improve my feed on instagram.
I used snapseed for a while but I LOVE VSCO for editing, it’s so good. And the horizon thing bugs me too, they have to be straight! I love using my DSLR when I get the chance but I think you can take nice photos on iPhone too though (and I wrote a blog post on it haha!) especially when you’re tying to capture children at speed.
Great tips! I was wondering you suggested you can’t use iPhone photos for your blog? Lots of great non Instagram editing apps as well. I always edit before I load to Instagram. Thanks! And very beautiful photos!